LIVEReading: Run a Full Local AI Stack With One CommandTotal time: 8 minSteps: 5Worked first time: 68% LIVEReading: Run a Full Local AI Stack With One CommandTotal time: 8 minSteps: 5Worked first time: 68%
CBW
Mediumgithub.com/Light-Heart-Labs/DreamServer2026-05-31

Run a Full Local AI Stack With One Command

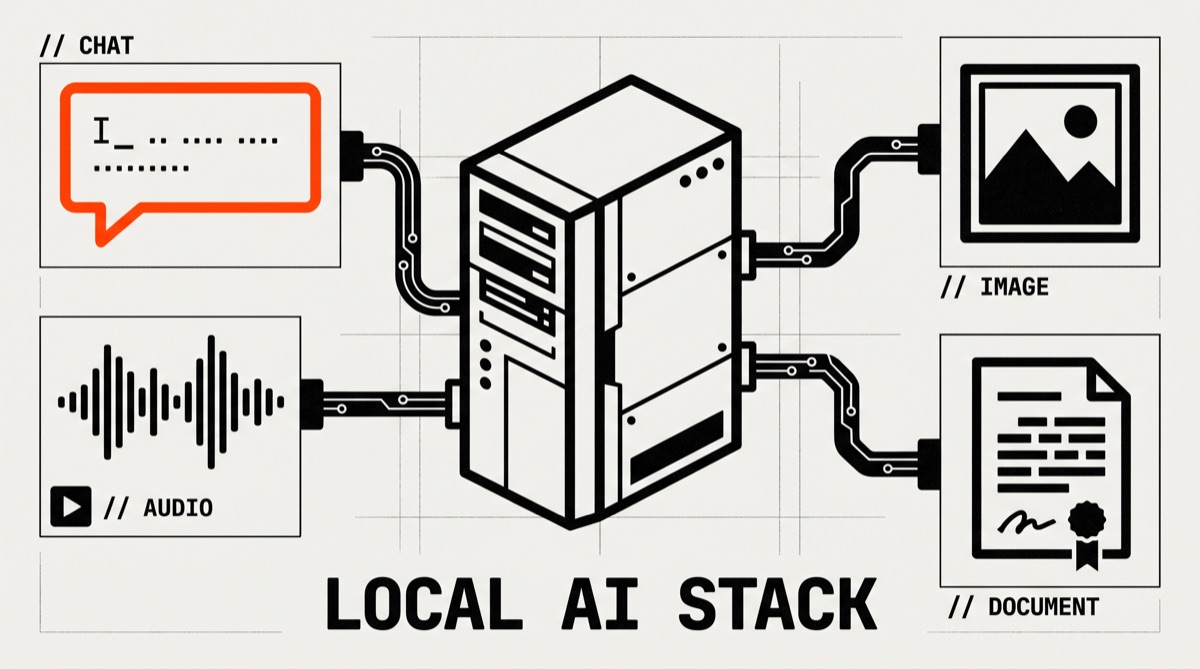
DreamServer installs a complete local AI stack — chat, voice, agents, image generation, and RAG — on your own hardware with a single command. No cloud account, no subscription, no data leaving your machine.

// Build stats

  • Total time8 min
  • Number of steps5
  • DifficultyMedium
  • Worked first time68%
// Before you start

What you need

  • Linux, Windows 10/11, or macOS with Apple Silicon (M1 or newer)
  • Windows users: Docker Desktop installed and running with WSL2 backend enabled
  • Mac users: Docker Desktop installed and running
  • At least 8 GB RAM (16 GB+ recommended for larger models)
  • A GPU helps a lot but is not required — cloud mode works without one
  • Stable internet connection for the initial model download
01
Step 1 of 5

Install on Linux or macOS with one command

5–15 min

This single command downloads the installer script and runs it. The installer detects your GPU automatically, picks a suitable AI model for your hardware, generates login credentials, and starts all services. On macOS, make sure Docker Desktop is already open before you run this. Linux users can run it straight from the terminal.

Terminal · mac
$ curl -fsSL https://raw.githubusercontent.com/Light-Heart-Labs/DreamServer/main/dream-server/get-dream-server.sh | bash
What you should see
The installer prints GPU detection results, model selection, and service startup messages. It ends with a URL like 'Open http://localhost:3000 to start chatting.'
This might happen

The script hangs or says Docker is not running

Open Docker Desktop first, wait until its status bar says 'Engine running', then re-run the command.

02
Step 2 of 5

Install on Windows via PowerShell

10–20 min

Windows requires a few extra steps because PowerShell restricts scripts by default. The first command temporarily allows the installer to run — it does NOT change your system permanently. Run these in a normal PowerShell window, not as Administrator. Docker Desktop must already be open and running before you start.

Terminal · mac
$ Set-ExecutionPolicy -Scope Process -ExecutionPolicy Bypass
$ git clone https://github.com/Light-Heart-Labs/DreamServer.git
$ cd DreamServer
$ .\install.ps1
What you should see
PowerShell prints GPU detection, model selection, and service startup lines. A Desktop shortcut called 'DreamServer Dashboard' is created when setup finishes.
This might happen

git is not recognized as a command

Install Git for Windows from https://git-scm.com/download/win, restart PowerShell, then try again.

03
Step 3 of 5

Open the chat interface

1 min

Once the installer finishes, your local AI is already running. Open a browser and go to the address below. You will see Open WebUI — a full chat interface similar to ChatGPT, but running entirely on your machine. The installer printed your login credentials; check the terminal output if you are asked for a username and password.

Terminal · mac
$ http://localhost:3000
What you should see
A chat interface loads in your browser. You can type a message and get a reply from your local AI model.
This might happen

The page does not load or shows 'connection refused'

Wait another 60 seconds — the first model download can take a few minutes. Then refresh the page. If it still fails, run './dream-macos.sh status' (Mac/Linux) or '.\dream-server\installers\windows\dream.ps1 status' (Windows) to check which services are running.

04
Step 4 of 5

Run in cloud mode if you have no GPU

3 min

No GPU? No problem. Cloud mode runs the same full stack but sends inference requests to OpenAI, Anthropic, or Together AI instead of your local hardware. You still get the full chat UI, agents, and workflows — you just need an API key from one of those providers. Run this instead of the standard install command.

Terminal · mac
$ cd DreamServer/dream-server
$ ./install.sh --cloud
What you should see
The installer skips GPU detection and prompts you to enter your cloud API key. Services start and http://localhost:3000 becomes available as normal.
This might happen

You are not sure which API key to use

OpenAI keys start with 'sk-'. Get one free at https://platform.openai.com/api-keys. Paste it when the installer asks.

05
Step 5 of 5

Check service status and manage the stack

2 min

After setup you can check whether all services are healthy, stop them, or restart them using the dream management command for your platform. This is useful if something stops responding or after a reboot.

Terminal · mac
$ # Linux / macOS:
$ ./dream-macos.sh status
$
$ # Windows PowerShell:
$ .\dream-server\installers\windows\dream.ps1 status
What you should see
A list of services (Open WebUI, llama-server, LiteLLM, etc.) with a status of 'running' or 'stopped' next to each one.
This might happen

You get 'No such file or directory' when running the status command

Make sure you are inside the DreamServer folder. Run 'cd DreamServer' first, then try the command again.

// Status

cooked. baked. worked.

A fully local AI chat interface running at http://localhost:3000, powered by your own hardware, with no data sent to any cloud service by default.

// the honest bit

The honest part

DreamServer is a young project. The one-command install works well on supported hardware, but edge cases exist — unusual GPU combos, older Docker versions, or non-standard Linux distros may need manual fixes. Model download times vary widely (a 7B model is ~4 GB). Smaller or older machines will produce slow responses. Voice and image generation features require additional setup beyond what this guide covers. Check the project's GitHub Issues page if something breaks — it is actively maintained.