LIVEReading: Add an AI Coding Agent to VS Code in 10 MinutesTotal time: 7 minSteps: 5Worked first time: 85% LIVEReading: Add an AI Coding Agent to VS Code in 10 MinutesTotal time: 7 minSteps: 5Worked first time: 85%
CBW
Easygithub.com/cline/cline2026-05-18

Add an AI Coding Agent to VS Code in 10 Minutes

Cline is a free, open-source AI agent that lives inside VS Code. It reads your project, edits files, runs terminal commands, and waits for your approval before changing anything.

// Build stats

  • Total time7 min
  • Number of steps5
  • DifficultyEasy
  • Worked first time85%
// Before you start

What you need

  • VS Code installed (any recent version)
  • An API key from Anthropic, OpenAI, Google, or OpenRouter — or a free OpenRouter account
  • Basic comfort opening VS Code and its Extensions panel
01
Step 1 of 5

Install the Cline extension from the VS Code Marketplace

2 min

You install Cline the same way you install any VS Code extension — through the built-in Extensions panel. No terminal needed for this step.

Terminal · mac
$ Open VS Code → click the Extensions icon in the left sidebar (looks like four squares) → search for 'Cline' → click Install on the result by saoudrizwan.
What you should see
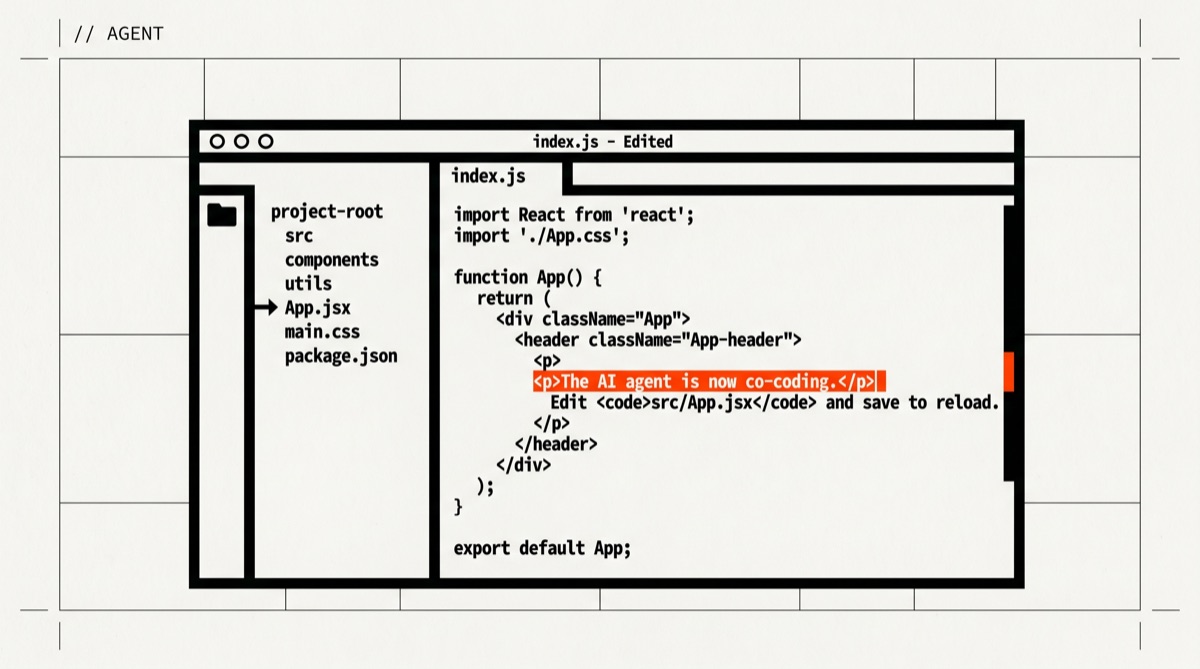
A new robot-face icon appears in the VS Code left sidebar and a Cline panel opens on the right side of the editor.
This might happen

Search returns several similar extensions.

The correct one is published by 'saoudrizwan' and has millions of downloads. Check the publisher name before installing.

02
Step 2 of 5

Open Cline and reach the API key screen

1 min

Click the robot icon in the left sidebar to open the Cline panel. The first time you open it, Cline shows a setup screen asking which AI provider you want to use. You pick your provider here and paste your key.

Terminal · mac
$ Click the Cline robot icon in the VS Code sidebar → the 'Welcome' or 'Settings' screen appears automatically on first launch.
What you should see
A form with a dropdown labeled 'API Provider' and a text field for your API key.
03
Step 3 of 5

Choose a provider and paste your API key

3 min

Pick the provider you have an account with. If you have no key yet, OpenRouter is the easiest starting point — sign up free at openrouter.ai, create a key, and paste it here. Anthropic Claude Sonnet and Google Gemini are popular choices. After pasting your key, click 'Save' or 'Let's go'.

Terminal · mac
$ In the API Provider dropdown, select your provider (e.g. 'Anthropic') → paste your API key into the key field → click Save / Let's go.
What you should see
The setup screen closes and you see the main Cline chat input box with the message 'What would you like Cline to do?'
This might happen

Key is rejected or the field turns red.

Make sure you copied the full key with no leading or trailing spaces. Keys are long — use Ctrl+A in the key field to confirm nothing is missing.

04
Step 4 of 5

Open a project folder so Cline has context

1 min

Cline works best when VS Code has a folder open. It reads your file structure to understand what you are building. If you already have a project open, skip this step. If not, open any folder — even an empty one works for testing.

Terminal · mac
$ File → Open Folder → select your project folder → click Open.
What you should see
The VS Code Explorer panel on the left shows your project files. Cline is now aware of this folder.
05
Step 5 of 5

Give Cline its first task and approve its actions

5 min

Type a plain-English task in the Cline chat box and press Enter. Cline will read relevant files, propose changes, and ask your permission before editing anything. A diff view shows exactly what will change. Click 'Approve' to accept each action or 'Reject' to skip it. You are always in control — nothing changes without your click.

Terminal · mac
$ In the Cline chat box type something like: 'Add a README.md file that describes this project' → press Enter → review each proposed action → click Approve or Reject.
What you should see
Cline shows a step-by-step plan, then presents a diff of the new README.md file. After you approve, the file appears in your project folder.
This might happen

Cline says it cannot find files or the task stalls.

Make sure a folder is open in VS Code (Step 4). Cline needs a workspace root to navigate your project.

// Status

cooked. baked. worked.

Cline is running inside VS Code, connected to your chosen AI provider, and ready to read your project files, propose code edits, and run terminal commands — all with your approval before anything changes.

// the honest bit

The honest part

Cline uses your API key and you pay per token — costs add up fast on large tasks with powerful models like Claude Opus. Start with a cheaper model (Claude Haiku, Gemini Flash, or a free OpenRouter model) to test before running big jobs. Cline can run terminal commands on your machine; always read what it proposes before approving. Auto-approve mode exists but is not recommended until you trust the workflow. The VS Code extension is the most stable surface; the CLI and Kanban board are newer and rougher.