LIVEReading: Transcribe Any Audio File Offline — No API Key NeededTotal time: 7 minSteps: 5Worked first time: 88% LIVEReading: Transcribe Any Audio File Offline — No API Key NeededTotal time: 7 minSteps: 5Worked first time: 88%
CBW
Easygithub.com/chidiwilliams/buzz2026-05-31

Transcribe Any Audio File Offline — No API Key Needed

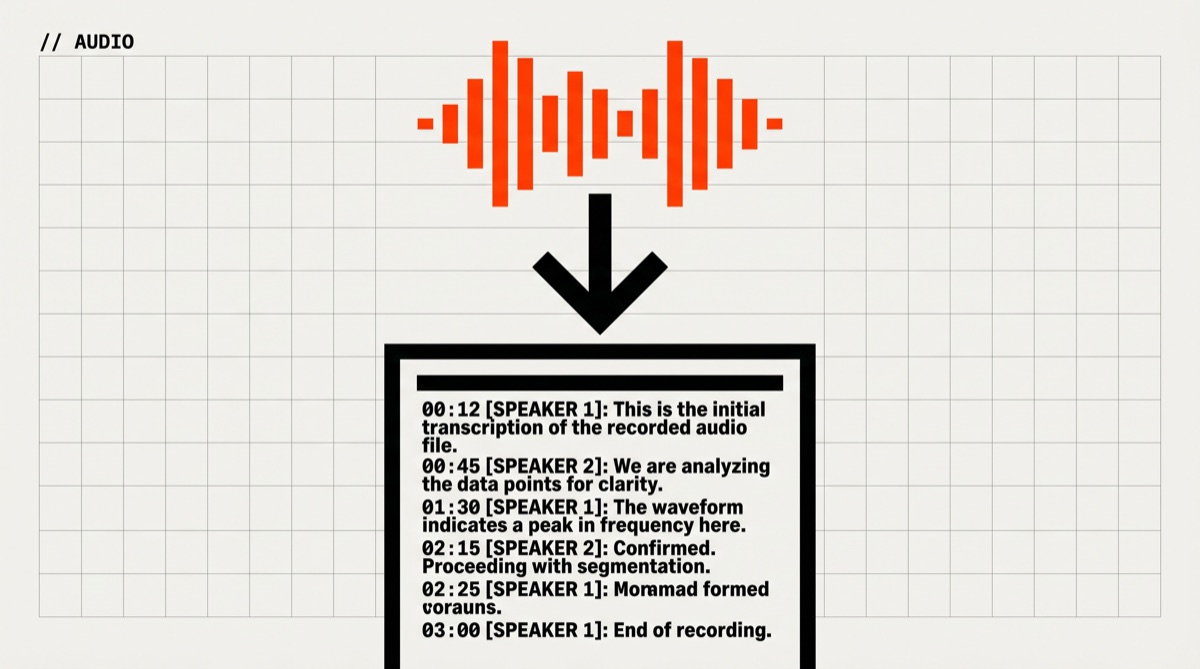
Buzz uses OpenAI's Whisper model to transcribe and translate audio or video files entirely on your own computer. No internet, no API costs, no data leaving your machine.

// Build stats

  • Total time7 min
  • Number of steps5
  • DifficultyEasy
  • Worked first time88%
// Before you start

What you need

  • Windows, macOS, or Linux computer
  • At least 4 GB of free disk space (models can be large)
  • The audio or video file you want to transcribe
  • A working microphone if you want live transcription
  • Stable internet connection for the one-time model download
01
Step 1 of 5

Download and install Buzz for your operating system

5 min

Buzz offers simple installers for every major platform. You do not need Python or any technical setup — just download the right file and run it like any normal app. On Windows you will see a security warning because the app is not code-signed; that is expected and safe to dismiss.

Terminal · mac
$ macOS: Download the .dmg from https://sourceforge.net/projects/buzz-captions/
$ Windows: Download the .exe installer from https://sourceforge.net/projects/buzz-captions/
$ Linux (Flatpak): flatpak install flathub io.github.chidiwilliams.Buzz
$ Linux (Snap): sudo snap install buzz
What you should see
Buzz appears in your Applications folder (macOS), Start Menu (Windows), or app launcher (Linux).
This might happen

Windows shows 'Windows protected your PC' and blocks the installer.

Click 'More info' then 'Run anyway'. This appears because the app is not commercially signed, not because it is harmful.

02
Step 2 of 5

Open Buzz and import a Whisper model

5–15 min (one-time download)

Buzz needs a Whisper model file to do the actual transcription. The first time you use it, it will download one from the internet and store it locally. Smaller models (tiny, base, small) are faster but less accurate. The 'medium' model is a good balance for most people. This download only happens once.

Terminal · mac
$ Open Buzz → go to Preferences (or Edit > Preferences) → select the Models tab → choose a model size (start with 'medium') → click Download.
What you should see
A progress bar fills up and the model status changes to 'Downloaded'. The file is now stored on your computer for all future use.
This might happen

The download stalls or fails partway through.

Check your internet connection and try again. Buzz will resume from where it stopped.

03
Step 3 of 5

Transcribe an audio or video file

2–10 min depending on file length

Now you can point Buzz at any audio or video file — MP3, WAV, MP4, and many others are supported. Buzz will run Whisper locally and produce a full text transcript. Processing time depends on your computer's speed and the model size you chose.

Terminal · mac
$ In Buzz: click 'File' → 'New Transcription' → select your file → choose your downloaded model → select the language (or leave on 'Auto-detect') → click 'Run'.
What you should see
A transcript window opens and text appears line by line as Buzz processes the audio. When finished, the full transcript is displayed with timestamps.
This might happen

Transcription is very slow or the app freezes.

Switch to a smaller model (tiny or base) in the model dropdown. On older hardware, large models can take many minutes per minute of audio.

04
Step 4 of 5

Export the transcript to a file

1 min

Once transcription is done, you can save the text in several formats. TXT is plain text you can paste anywhere. SRT and VTT are subtitle formats that work with video players and YouTube's caption uploader.

Terminal · mac
$ In the transcript window: click 'Export' → choose TXT, SRT, or VTT → pick a save location → click Save.
What you should see
A file appears in the folder you chose. Open it in any text editor or subtitle tool to confirm the content looks correct.
05
Step 5 of 5

(Optional) Transcribe live from your microphone

2 min setup

Buzz can also transcribe speech in real time as you talk. This is useful for meetings, presentations, or accessibility. It uses the same local Whisper model — nothing is sent online.

Terminal · mac
$ In Buzz: click 'File' → 'New Live Transcription' → select your microphone from the dropdown → choose your model → click 'Record'.
What you should see
Text appears on screen within a few seconds of you speaking. You will notice a short delay — that is normal; Whisper processes audio in short chunks.
This might happen

No microphone appears in the dropdown.

Make sure your operating system has granted Buzz microphone permission. On macOS go to System Settings → Privacy & Security → Microphone. On Windows go to Settings → Privacy → Microphone.

// Status

cooked. baked. worked.

A working desktop app that transcribes audio and video files into text entirely offline, with the ability to export subtitles or plain text — no API key, no subscription, no data leaving your computer.

// the honest bit

The honest part

Whisper accuracy is very good for clear speech in English but drops noticeably with heavy accents, multiple overlapping speakers, or noisy recordings. The 'tiny' and 'base' models make more errors than 'medium' or 'large' — larger models need more RAM and time. Live transcription always has a few seconds of lag; it is not instant captions. GPU acceleration is only available if you install via PyPI and have a compatible Nvidia GPU with CUDA set up — the desktop installer does not include GPU support.