LIVEReading: Let AI Browse the Web for You with Browser-UseTotal time: 8 minSteps: 6Worked first time: 65% LIVEReading: Let AI Browse the Web for You with Browser-UseTotal time: 8 minSteps: 6Worked first time: 65%
CBW
Mediumgithub.com/browser-use/browser-use2026-05-31

Let AI Browse the Web for You with Browser-Use

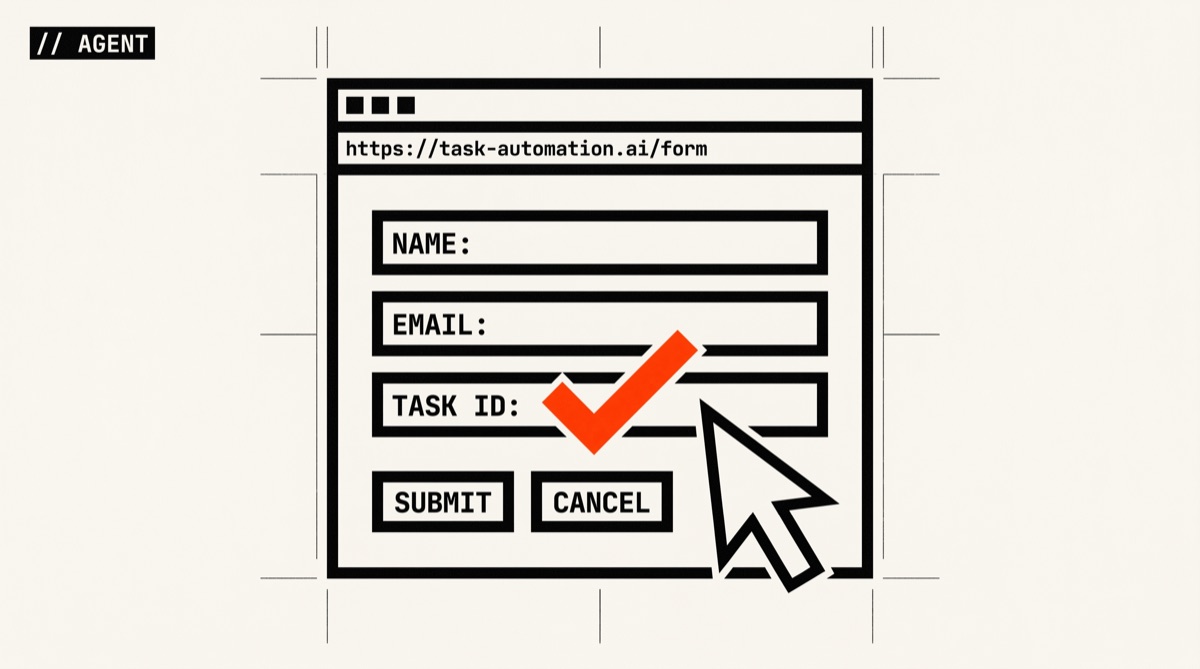
Browser-Use lets an AI agent control a real browser to complete tasks like filling forms, searching sites, or shopping — you just describe the task in plain English.

// Build stats

  • Total time8 min
  • Number of steps6
  • DifficultyMedium
  • Worked first time65%
// Before you start

What you need

  • A Mac, Windows, or Linux computer
  • Python 3.11 or newer installed
  • uv installed (Python package manager — free, one command to install)
  • A Browser-Use API key OR an Anthropic/Google API key (free tiers available)
  • Basic comfort running commands in a terminal
01
Step 1 of 6

Install uv if you don't have it

2 min

uv is a fast Python tool manager. If you already have it, skip this step. Run the command for your operating system. It installs in seconds and you won't need to touch Python settings manually.

Terminal · mac
$ curl -LsSf https://astral.sh/uv/install.sh | sh
What you should see
A few lines ending with something like 'uv installed successfully'. Close and reopen your terminal after this.
This might happen

On Windows, curl may not work in Command Prompt

Use PowerShell instead and run: powershell -ExecutionPolicy ByPass -c "irm https://astral.sh/uv/install.ps1 | iex"

02
Step 2 of 6

Create a project folder and install Browser-Use

3 min

This creates a fresh isolated project folder, installs the browser-use library and all its dependencies, then installs Chromium — the browser the AI will control. Running everything inside its own folder keeps your computer tidy.

Terminal · mac
$ mkdir my-browser-agent && cd my-browser-agent && uv init && uv add browser-use && uv sync && uvx browser-use install
What you should see
You'll see packages downloading, then 'Chromium installed successfully' or similar at the end.
This might happen

The Chromium download can take a few minutes on slow connections and may look stuck

Just wait — it's downloading a full browser. Don't cancel it.

03
Step 3 of 6

Add your API key to a .env file

2 min

The AI agent needs an LLM (a language model) to think and decide what to click. The easiest option is Browser-Use's own hosted model (ChatBrowserUse). Get a free API key at browser-use.com, then create a plain text file called .env in your project folder with the key inside. This file stays local — never share it.

Terminal · mac
$ echo BROWSER_USE_API_KEY=your-key-here > .env
What you should see
A file called .env appears in your folder. Open it to confirm it contains your key.
This might happen

If you paste the wrong key or leave 'your-key-here' as-is, the agent will fail with an authentication error

Open .env in any text editor, replace the placeholder with your real key, and save.

04
Step 4 of 6

Generate a ready-to-run agent script

1 min

Browser-Use has a built-in template generator. This one command creates a working Python file called my_agent.py in your folder. You don't need to write any code — the file is already complete.

Terminal · mac
$ uvx browser-use init --template default --output my_agent.py
What you should see
A message like 'Created my_agent.py'. You'll see the new file in your folder.
05
Step 5 of 6

Edit the task description in the script

2 min

Open my_agent.py in any text editor (Notepad on Windows, TextEdit on Mac). Find the line that says task= and change the text inside the quotes to whatever you want the AI to do — for example: "Go to google.com and search for the best pasta recipe" or "Find the price of a MacBook Air on amazon.com". Save the file when done. This is the only edit you need to make.

Terminal · mac
$ open my_agent.py
What you should see
The file opens in your default text editor. Look for the task= line near the top.
This might happen

On Windows, 'open' won't work in Command Prompt

Run: notepad my_agent.py

06
Step 6 of 6

Run your agent

2-5 min

This command starts the AI agent. A real Chromium browser window will open on your screen. Watch it — the AI will navigate, click, and type on its own to complete your task. When it's done, the result is printed in your terminal.

Terminal · mac
$ uv run my_agent.py
What you should see
A browser window opens and starts moving on its own. In the terminal you'll see step-by-step logs of what the agent is doing, ending with the task result.
This might happen

The agent sometimes gets stuck on cookie consent popups or login walls it wasn't given credentials for

Rewrite your task to avoid sites that require login, or check the browser-use docs on using saved browser profiles for authentication.

// Status

cooked. baked. worked.

A Chromium browser window that an AI controls in real time to complete whatever task you described — no clicking required from you.

// the honest bit

The honest part

Browser-Use is impressive but not magic. It works best on simple, single-page tasks like searching, reading, or filling public forms. Complex multi-step workflows (checkout flows, sites with heavy CAPTCHAs, login-gated content) fail more often. The AI can misclick or misread pages — always watch the first few runs. API costs are low but not zero; each task calls the LLM multiple times. The open-source model is free to run locally but requires more setup than this guide covers.